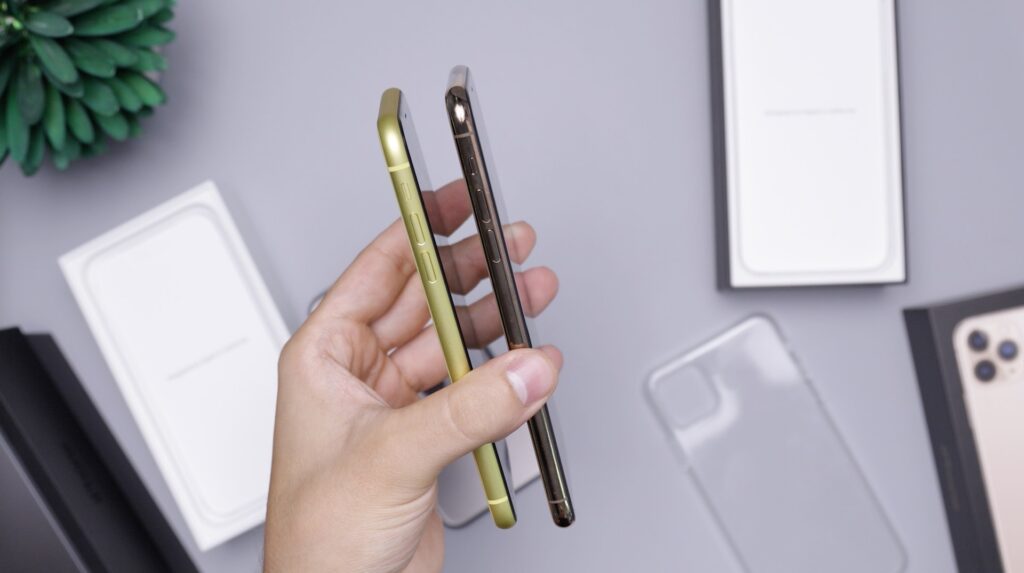
Are you the proud owner of a stylish new skin from Protectiondjin for your Phone, MacBook, or Air Pods? Congratulations! Now, it’s time to apply your new skin for best results and a flawlessly smooth finish. With our comprehensive, step-by-step guide, you can feel confident applying your Protectiondjin skin like a pro.
In this tutorial, we cover everything from preparing the device surface to ensuring proper alignment and eliminating any air bubbles. Whether you’re a first-time user or a seasoned pro, our guide will help you achieve the perfect application with ease. Transform your devices with style, protection, and personality, and enjoy the benefits of your new Protectiondjin skin without any frustration or setbacks. Let’s dive in and get started on giving your devices the makeover they deserve!
Preparing Your Device for Application
The first step to ensure a successful application of your new Protectiondjin skin is to prepare the device surface adequately:
1. Clean the Surface: Using a soft microfibre cloth, gently remove any dust, dirt, or fingerprints from your Phone, MacBook, or Air Pods. Avoid using water or harsh cleaning agents, as these can cause damage to your device.
2. Dry the Device: After cleaning, ensure your device is completely dry to avoid any interference with the adhesive during the application process.
3. Create a Workspace: Choose a well-lit, clean, and flat surface to work on when applying your Protectiondjin skin. This will help minimise debris or contaminants that could interfere with the application process.
Aligning Your Protectiondjin Skin
Proper alignment is crucial for an impeccable finish and to ensure your device’s ports, buttons, and other features remain fully functional:
1. Carefully Remove the Skin: Slowly and carefully remove your Protectiondjin skin from its backing, taking care to avoid stretching or ripping it.
2. Identify the Key Alignment Features: Determine the most prominent features of your device, such as the charging port, camera, or side buttons, to aid in alignment.
3. Begin with Small Sections: Align a small portion of your skin to your device first, using the key features identified in the previous step. This will help guarantee the other sections align properly.
4. Make adjustments when necessary: If you notice any misalignments during this step, gently lift the skin and reposition it before firmly pressing it down again.
Applying Your Protectiondjin Skin
Now that your device is clean and your skin is aligned, it’s time to apply the skin to your Phone, MacBook, or Air Pods:
1. Start With the Largest Section: Press the largest portion of your skin onto your device first, ensuring it’s lined up perfectly with any ports, buttons, or other features.
2. Apply Pressure: Gently but firmly use your fingers or a soft cloth to smooth out the skin as you apply, working from the centre of the device outward. This will help eliminate any potential air bubbles and ensure the skin adheres securely to your device.
3. Wrap the Edges: Next, carefully apply the edges of your Protectiondjin skin to wrap around the sides of your device, using your fingers or the flat edge of a credit card to ensure a smooth and even application.
4. Pay Attention to Details: Take extra care with smaller or more intricate sections of the skin, such as those around the camera or buttons. Use a toothpick or cotton swab, if necessary, to gently press down these sections for a perfect fit.
Removing Air Bubbles
While it’s normal for small air bubbles to appear during the application process, you can easily remove them to achieve a flawless finish:
1. Large Air Bubbles: Carefully lift and reapply the skin to remove any large air bubbles, pressing down firmly as you reposition the skin.
2. Small Air Bubbles: For smaller bubbles, use a soft cloth or the edge of a credit card to gently but firmly push them toward the edge of the skin until they disappear.
3. Work Systematically: Start at the centre of the device, working outward to the edges, ensuring a consistent and smooth finish across the entire surface.
Additional Section – Caring for Your Applied Protectiondjin Skin
Once you’ve successfully applied your Protectiondjin skin, follow these steps to maintain its pristine appearance and ensure it continues to protect your device effectively:
1. Clean Gently: To clean your skin, use a soft microfibre cloth and a small amount of non-abrasive cleaning solution if needed. Avoid harsh chemicals or excessive moisture, which can damage the skin or your device.
2. Avoid Excessive Heat: Keep your device, particularly those with skins applied, away from extreme heat sources, as high temperatures may cause the skin’s adhesive to weaken or peel.
3. Remove Carefully: Should you need to remove or replace your skin, do so carefully to avoid leaving residue or causing damage to your device. Warm the skin gently using a hairdryer on a low setting to make removal easier, then peel it off slowly.
Flaunt Your Flawless Protectiondjin Skin Today
Overall, applying your Protectiondjin skin correctly is essential to achieving a perfect, smooth finish that provides effective protection for your device. By following these simple steps, you can ensure a successful application that extends the life and appearance of your Phone, MacBook, or Air Pods while showcasing your unique style. Enjoy the benefits of your Protectiondjin skin, knowing that you’ve expertly applied it for the best possible results.
Ready to explore more fantastic and stylish skins from Protectiondjin? Discover our extensive range of designs and customisation options, ensuring the perfect choice for every device and style preference. Don’t wait any longer; upgrade your device’s protection and visual appeal with the premium phone skins we have to offer. Indulge yourself and add a touch of flair to your everyday tech essentials, and make your devices truly stand out!

