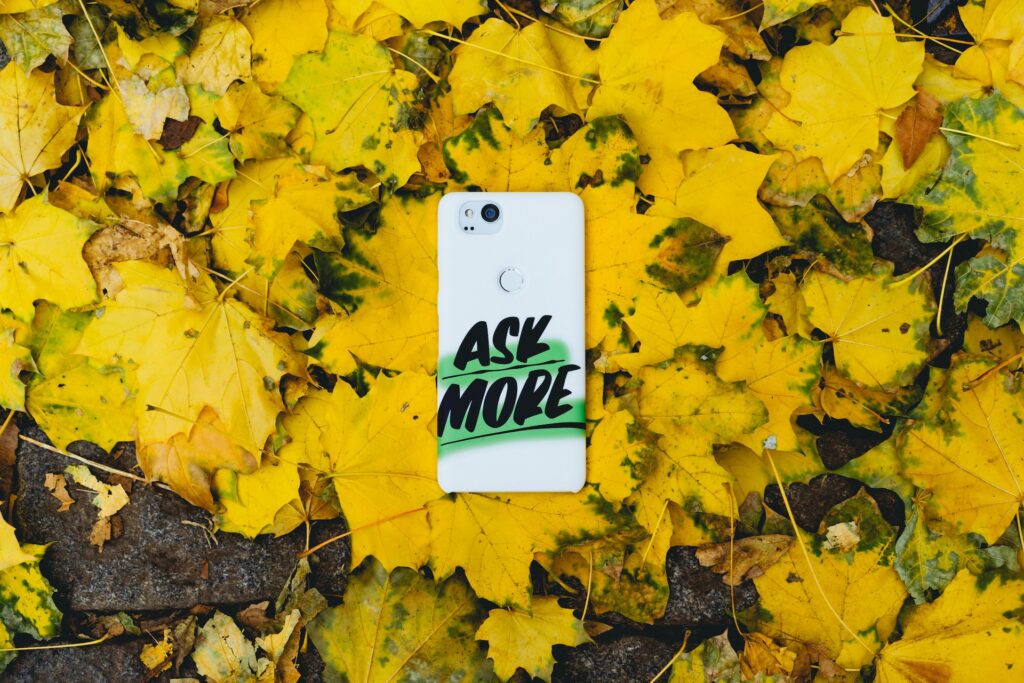
Our smartphones have become an integral part of our identity, and expressing our unique personality through their appearance is an empowering and thrilling experience. Since phone skins enable us to swap styles frequently, mastering the art of removing and replacing them without harming our precious devices is essential.
This comprehensive guide sheds light on the proper technique to safely remove and switch phone skins, allowing you to revel in an ever-evolving style without any fear of damage. Learn the secrets to maintaining your phone skin investment in pristine condition even amidst the excitement of change. As you embrace your new skin-switching prowess, you will enjoy the true versatility and personalisation that phone skins bring. So gear up to embark on a journey towards endless style possibilities and seamless transformation!
Part 1: Preparing for Phone Skin Removal
To ensure that you can safely remove your phone skin without damaging your device, start by preparing your workspace and gathering the necessary tools and materials.
1. Workspace: Select a clean, clutter-free, and well-lit surface to work on. This helps avoid any dirt or debris being trapped beneath the new skin during application.
2. Tools and Materials: Keep the following items handy:
– A clean, lint-free microfibre cloth
– A small, thin and flexible plastic tool, such as a spudger or an old credit card
– A hairdryer or a heat gun with adjustable temperature settings
3. Clean Your Device: Before starting the removal process, power off your phone and use the microfibre cloth to gently clean its surface to remove any dust or residues.
Part 2: Gently Heating the Skin
1. Heat Application: Apply heat to the phone skin using a hairdryer or heat gun on a low to medium setting. This helps soften the adhesive, making it easier to peel without leaving any residue. Hold the heat source about 15 cm from the device and move it evenly across the skin for 30-60 seconds.
2. Check for Overheating: Ensure you do not overheat your device, as this can cause damage to the internals. Keep checking the skin’s temperature, ensuring it is warm to the touch but not too hot.
Part 3: Carefully Lifting and Peeling the Skin
1. Find an Edge: Locate an edge or corner of the skin that is easily accessible. This will be your starting point for removal.
2. Lift the Edge with the Plastic Tool: Holding the plastic tool at a shallow angle, gently slide it between the skin and the device’s surface. Gradually lift the skin without applying excessive force to avoid tearing or stretching it.
3. Peel Methodically: With the edge lifted, use your fingers or the plastic tool to gently peel the skin from the device. Be sure to progress slowly and evenly to avoid any accidental damage. If you encounter resistance, stop peeling and apply more heat to that area.
4. Avoid Stretching or Tearing: Maintain consistent and gentle pressure as you peel the skin. Rushing or using excessive force can cause the skin to stretch, tear or leave adhesive residues on the device.
Part 4: Cleaning and Preparing for the New Skin
1. Inspect the Device: After removing the skin, thoroughly inspect your device for any leftover adhesive or debris. A clean surface ensures a perfect application for the new skin.
2. Remove Residues: If you find any adhesive residues, use a lint-free microfibre cloth to gently rub and remove them. If needed, you can dampen the cloth slightly with isopropyl alcohol, but avoid using too much liquid to prevent moisture damage.
3. Final Cleaning: Wipe the device down with the lint-free microfibre cloth one last time to ensure a pristine surface for the new skin application.
Part 5: Applying the New Phone Skin
1. Unpack and Inspect the New Skin: Carefully remove the new skin from its packaging and inspect it for any defects or debris.
2. Align and Apply: With the adhesive side of the skin facing your device, begin aligning the skin to the ports, buttons, and other features of your device. Starting with a corner or edge, slowly and methodically press the skin onto the surface, making sure to eliminate any bubbles or creases.
3. Adjust as Needed: During application, if the skin becomes misaligned or bubbles form, gently lift and reapply the skin. Taking the time to adjust ensures the best fit and finish.
4. Smooth the Edges: Once the skin is entirely applied, use your fingers or the plastic tool to gently press down the edges and corners, securing the adhesive and ensuring a seamless fit.
5. Apply Heat (If Required): Some phone skins come with specific instructions to apply heat after installation. If so, follow the same heating process as mentioned in Part 2, ensuring your device does not overheat.
With the new skin successfully applied, your smartphone will not only be protected but also boast a fresh and personalised look. The knowledge and confidence to safely remove and replace phone skins now enable you to enjoy an ever-changing style that truly reflects your unique personality and preferences.
Part 6: Embrace Your Style Evolution with ProtectionDjin Phone Skins
Now that you have mastered the art of safely removing and replacing phone skins, you have unlocked the flexibility to redefine your style and express your personality without any fear. ProtectionDjin offers an extensive range of premium, customisable phone skins to satisfy your desire for a refreshing and ever-evolving look.
Discover the perfect phone skin to suit your mood, lifestyle, or occasion and enjoy the freedom to switch effortlessly when inspiration strikes. ProtectionDjin is dedicated to delivering an exceptional experience, ensuring quality, durability, and design precision that meets the highest of standards.
Visit Protectiondjin to explore our stunning array of functional phone skins and elevate your smartphone style with total confidence in your newly honed removal and replacement skills. The future of personalised expression lies at your fingertips!

