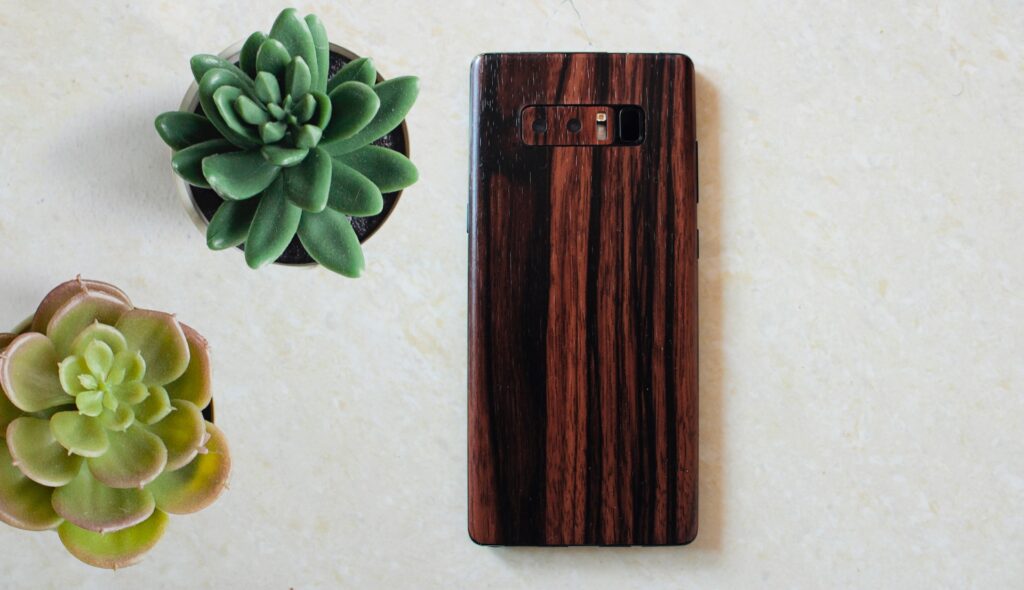
Phone skins offer a brilliant fusion of protection and personalisation for your device. However, the application process for phone skins can sometimes be challenging, especially for first-time users. Incorrect application, bubbles, and misaligned edges can detract from the appearance and functionality of your phone skin.
By mastering the art of phone skin application, you can not only enhance the appearance of your device but also ensure your Protectiondjin phone skin provides the maximum protection and longevity possible. Our goal is to make the application process enjoyable and straightforward, resulting in a beautifully finished and protected device that showcases your individual style.
In this article, we present a step-by-step guide to the application process to help you achieve perfect phone skin placement. We understand that each phone skin material and design may have unique attributes that affect the application process; hence, our guide will include specific tips and tricks for individual variations to ensure flawless results every time.
Preparing Your Device: The Foundation for a Flawless Fit
Before you begin the application process, it is crucial to create a clean and dust-free surface on your device to ensure optimal adhesion and alignment. Here are some essential tips for preparing your phone:
1. Power off your device and disconnect any connected accessories.
2. Clean the surface of your phone using a soft, lint-free cloth or a slightly damp microfibre cloth for stubborn dirt. Avoid using any abrasive or harsh cleaning solutions as they may damage your device.
3. Dry your device thoroughly to ensure no residual moisture.
4. Assemble the necessary tools for the application process, such as a clean work surface, your phone skin, a soft cloth, and a credit card or plastic squeegee.
By preparing your phone and workspace, you create the ideal foundation for a smooth, bubble-free application.
Placing the Phone Skin: Aligning for Aesthetic Perfection
The importance of precise alignment during the application process cannot be overstated, as it ensures the finished product is both visually appealing and protective. Follow these steps for accurate placement:
1. Remove the backing paper from the phone skin, being careful not to touch the adhesive side to prevent contamination.
2. Align the phone skin with your device on one side, referencing any cutouts or design elements like the camera or phone buttons. Ensure the skin is straight and centred.
3. Slowly lower the skin onto your device, maintaining alignment on all sides. Avoid pressing the skin down firmly yet, as you may need to reposition it.
By meticulously aligning your phone skin, you can achieve a flawless, professional-looking fit that enhances the appearance of your device.
Smoothing and Securing: Eliminating Bubbles and Wrinkles
After positioning your phone skin, the next step involves smoothing it onto your device to eliminate bubbles and wrinkles. Here are the steps to achieve a perfect, bubble-free finish:
1. Start from the centre of the phone skin and work your way out towards the edges. Use your fingers or a soft cloth to gently smooth out any air bubbles or wrinkles, applying even pressure.
2. For a more precise finish, use a credit card or plastic squeegee to press out any remaining air bubbles, always pushing them towards the nearest edge.
3. If wrinkles occur that cannot be smoothed out, carefully lift the edge of the skin closest to the wrinkle and reapply with even pressure.
This smoothing process results in an immaculate, bubble-free appearance that enhances the seamless integration of your phone skin with your device.
After smoothing your phone skin onto your device, it’s essential to secure it in place and ensure long-lasting adhesion. Follow these steps to finalise your flawless application:
1. Press down firmly on all edges and corners of the phone skin to ensure a secure bond and eliminate potential lifting or peeling.
2. For phone skins with intricate cutouts or contours, use a hairdryer on low heat held at a safe distance to gently warm the material and make it more pliable. Press the heated skin into any contours, corners, or cutouts, ensuring a secure and precise fit.
3. Let your device rest for at least an hour to allow the adhesive to bond securely.
These final touches ensure your phone skin remains securely in place, providing lasting protection and aesthetic appeal.
Conclusion:
Mastering the art of phone skin application involves careful preparation, precise alignment, diligent smoothing, and secure adhesion. By following our step-by-step guide, you can achieve a flawless finish that not only enhances the appearance of your device but also ensures maximum protection, allowing your phone to showcase your unique style while safeguarding it from daily wear and tear.
Protectiondjin’s range of high-quality phone skins offers an extensive array of textures and designs to cater to every customer’s preferences and requirements. With a beautifully applied phone skin, your device will stand out as a testament to your personality and taste. Invest the time and effort in perfecting your phone skin application skills, and enjoy the satisfaction that comes from knowing your device is protected and visually stunning. Browse our wide selection of beautifully crafted phone skins today!

